I've had this kit sitting around in Rancho Caridad since 2013. I imported it from the Netherlands. I intended to assemble it little by little after my air safari flights around Luzon but that's not happening anymore. Hence, I brought it back to my condo in Manila and opened it in March 2017 to get started.
 |
| The instruction manual does not mention that this is the new seat; no need to assemble from aluminum sheets. Yehey! |
 |
| The first four allen bolts done. Savor it boys and girls because it gets harder over the course of the assembly. |
 |
| I thought the kit was missing some allen bolts but I eventually found the others. I did purchase additional allen bolts locally because some of the ones supplied were a bit short for the application. |

 |
| The first two holes drilled and riveted. Better get it right the first time. After the hole is drilled, you have to live with it forever! |
 |
| I had to sand some of the aluminum protrusions (where the allen bolts were screwed) to ensure the parts were flush or even / level against each other (i.e., minimum or no gaps between parts) when the allen bolts were tightly screwed. |
 |
| Front boom installed. |
 |
| If I had to do it all over again, I would install the bigger plate first and only halfway from the top (i.e., boom side). I eventually had to remove & re-install the rivets of the bottom (smaller) center plate when I installed the bottom side plates. |
 |
| That black thing sticking at the top is not illustrated in any of the instruction manuals or any of the construction pictures posted in the web. It's a new version which can be attached in this way only. I will eventually find out if it's correctly installed. |
 |
| These two strips are where the front part of the seat will be anchored. |

 |
| This is where I used the rubber mallet to push down the aluminum sheet onto the aluminum support tube. |
 |
| Same as above. |
 |
| Bending those tubes for the wheel fairings were challenging for me. It took me forever and I still couldn't shape them perfectly. |
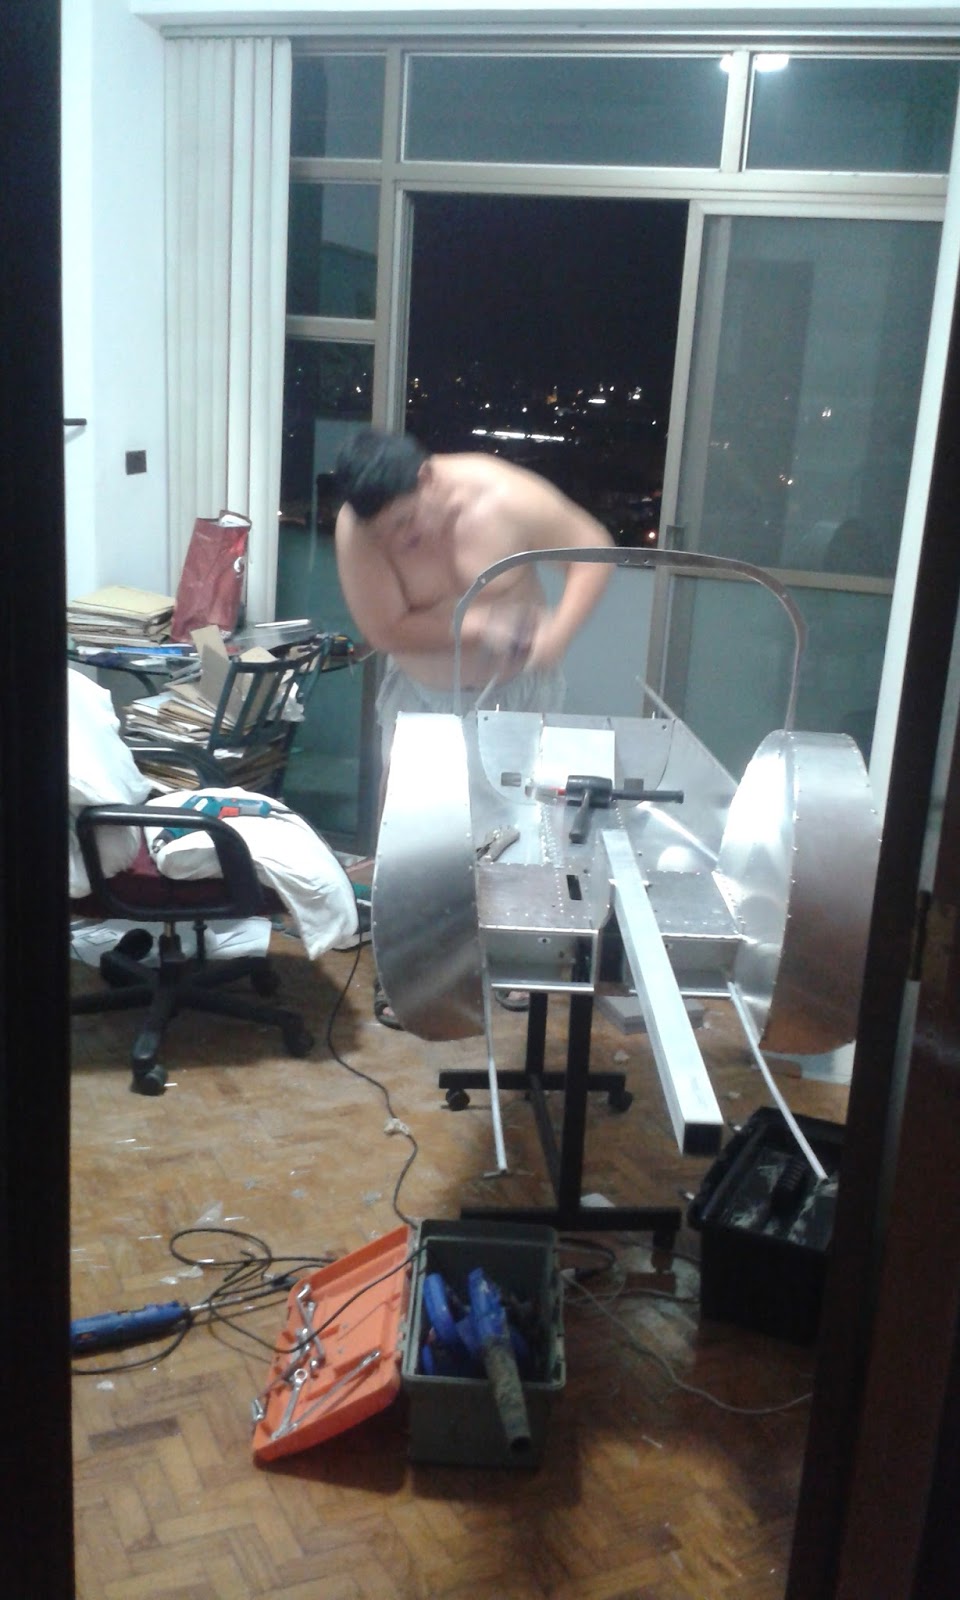 |
| Selina took this shot of me working on the velomobile. It's now summer in the Philippines. Hot and humid. |
 |
| Flooring under the seat is done. |
 |
| A closer look at the flooring. |
 |
| Rear wheel mud guard. I thought I did a good job on this one. My riveting skill is improving . . . finally. |
 |
| Neat! |
 |
| Tube extension for the rear wheel mud guard. |

 |
| Got those red c-clamps just in time for this important alignment. |
 |
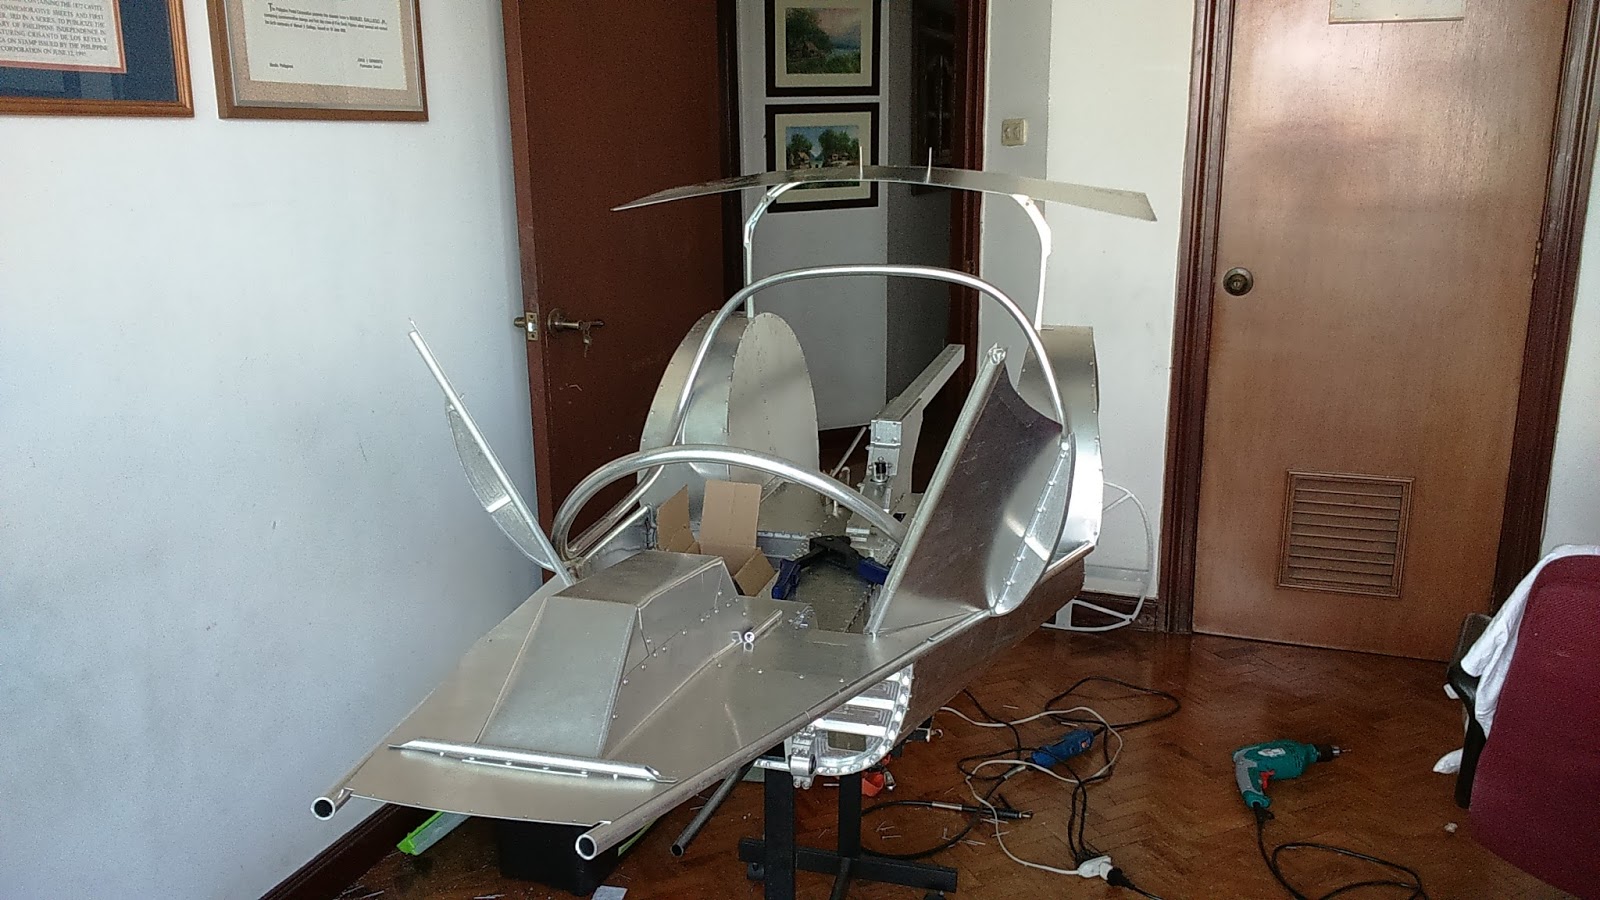
| This is when you feel the velomobile is actually taking shape. |
 |
| All set for riveting. |